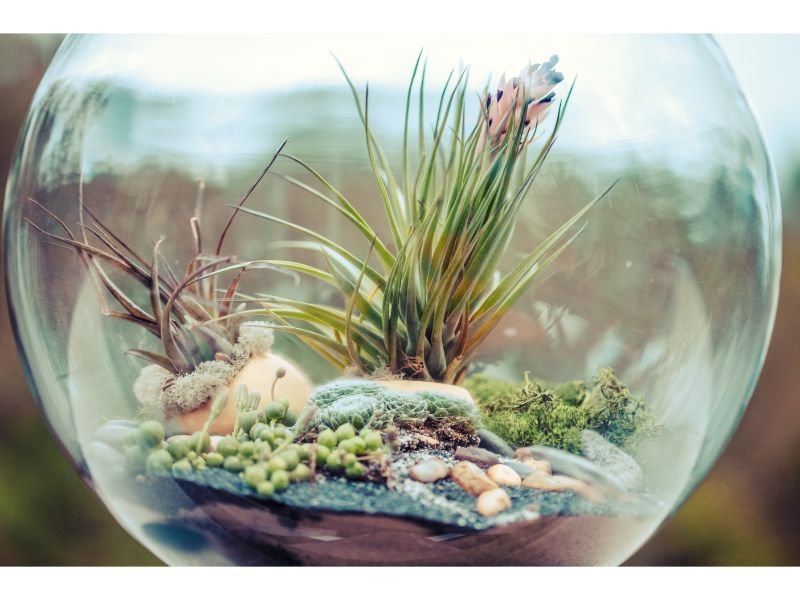
Looking for a simple and fun way to incorporate greeneries into your home but not blessed with a massive landscape and a green thumb? Look no further than a DIY terrarium project! With not much experience needed and can be done in an estimated time of just 30 to 120 minutes, terrariums sure can catch the attention of any guests. What’s more, with some creativity, there are a bunch of styles you can mix to express your taste.
Table of Contents
Essential Things To Note Before Start Making Your Terrariums
Light
Light is a crucial aspect for any plant, whether they’re thriving in terrariums or not. Most terrarium plants prefer bright but indirect light to perform the best. Exposure to bright sunlight can cause unwanted problems, such as rising temperatures, burning leaves, or even premature death. However, be sure to take time to do further research for each plant before starting your terrarium project!
Temperature and Humidity
There’s no exact answer for this one as temperature and humidity needs for plants are created differently. Nonetheless, the recommended temperature for most terrarium plants falls between 50°F to 75°F (10°C to 23°C) range with high humidity. Increasing humidity is just as simple as misting the plant, but it’s worth noting that the buildup of excess moisture can lead to unwanted fungal growth.
Type of Terrariums: Closed or Open?
Generally, there are only two types of terrariums, closed and open. As the name indicates, closed terrariums have a sealed lid that tends to restrain moisture and humidity better than their open counterparts. This also means that closed terrariums require less watering, but this type of terrarium is more prone to poor ventilation.
Open terrariums, on the other hand, have a broader choice of plants because they don’t need any lid coverings. Although it needs more frequent watering and maintenance, this type of terrarium has better air circulation and is perfect for plants that love drier soil.
Plant Choice
From ferns and moss to tropical, shade, and humid-loving plants such as philodendrons, pothos, miniature peperomia, and nerve plants, these are only a few of the perfect picks for closed terrariums. For open terrariums, you can thrive bigger plants such as flowering begonias, Japanese boxwood, dwarf Chinese evergreen, to the famous carnivorous Venus fly trap. The key to choosing plants for each terrarium type is simply looking at the size and growth habits. It’s highly recommended to stick with plants that have a slow-growing habit so they are not overgrown within the size of the terrarium.
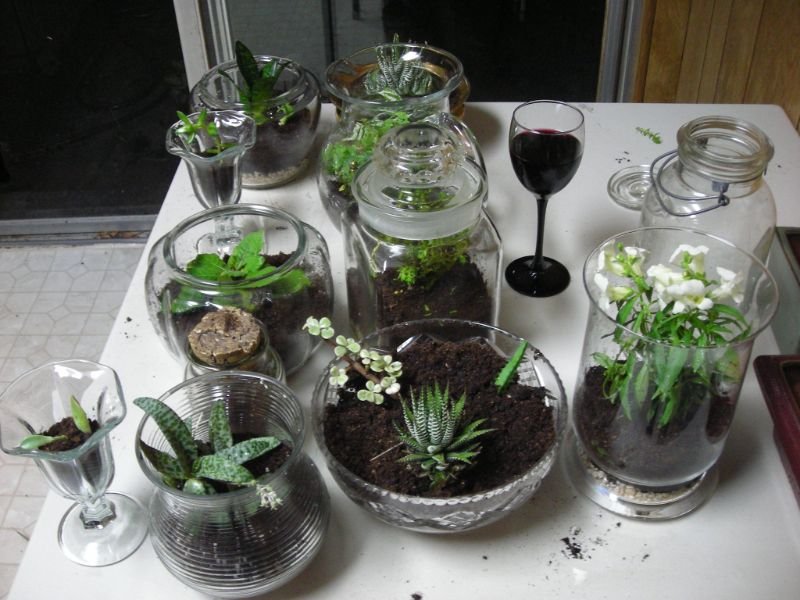
Type of Planter: Plastic vs Glass
You don’t need fancy and overpriced planters to make terrariums. Old mason jars, koi fish bowls, aquariums, or even unused pasta jars can be transformed into such eye-catching terrariums! While glass terrariums are easy to clean and get that more classic and fancy look, they also can be super heavy once set up and fragile.
On the contrary, plastic terrariums are not only more budget-friendly, but this type of planter is also more lightweight and infrangible. The downside of plastic terrariums is they can’t provide an equal aesthetic look as glass terrariums. Moreover, plastic terrariums are also prone to scratches and tend to get more cloudy after exposure to condensation over time.
Materials You’ll Need For The Ultimate DIY Terrariums

Potting Soil and Stones
Aside from plants (which is obvious) soil mix and stones such as pebbles are equally fundamental for terrariums, just like two sides of a coin. We need potting soil as they provide nutrients for the plants to survive, while stones help to improve drainage. Choose a high-quality soil mix that is formulated especially for indoor plants, since it tends to be more lightweight. When using stones for the terrarium, make sure to pick ones that are fit for the desired look and the size of your container.
Activated Charcoal
Although not a necessary material to make a DIY terrarium, activated charcoal can save you a lot in terms of cleanliness and odor control. Activated charcoal helps to fight bacteria and mold growth, which is more prone especially if you’re planning to make a closed terrarium. This DIY terrarium material is also easy to get and would not hurt your wallet, where you can get a bag for less than $20!
DIY Tips: If you don’t want to use activated charcoal, opt for alternatives like sphagnum moss, sand, or lava rocks. They give the same merit and are also handy.
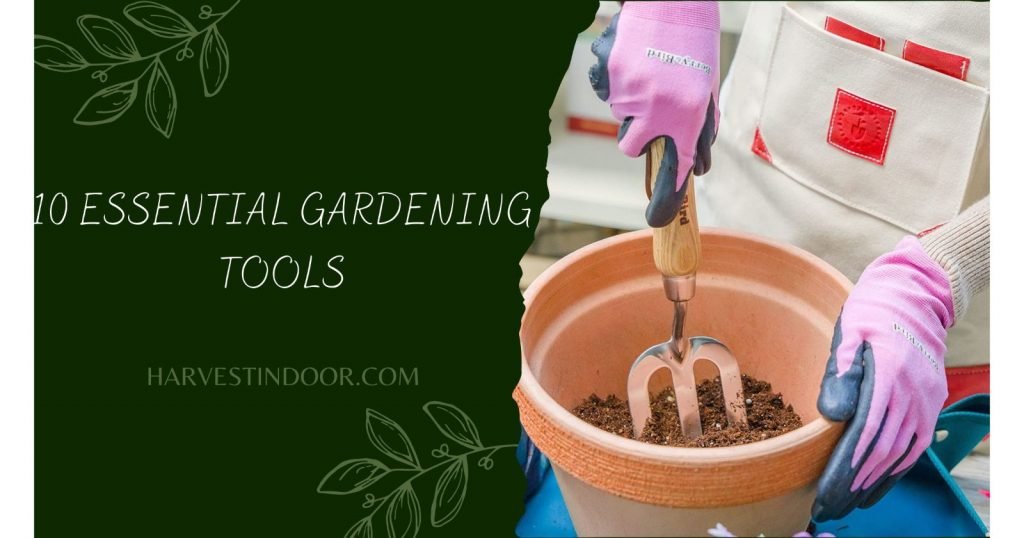
Gardening Tools
Nowadays, the DIY terrarium project is easier than ever. For less than $30, you can get a set of gardening tools online that consist of the main rake, shovel, tweezers, and brush. Add up a bottle of water spray mist, sterile shears or scissors, and optional gloves–and you’re done. Generally, you don’t need a lot of tools to create an eye-catching terrarium.
How To Setting Up Closed Terrariums
Have you gathered all the materials, chosen your terrarium style, and picked the best plants? That’s good! Now it’s time to head to the next level.
Step 1: Layering
The first layer you should place at the bottom of the closed terrarium is the stones. You can adjust the depth according to the size of your container. Once done, add activated charcoal or its alternative as the second layering, about 0.5 inches (1.27 centimeters) more than the stones.
The next and last step is to add the potting soil mix to the layering. There’s no exact measurement of how much you should use the soil, adjust the depth regarding your plants’ and container’s size. The general rule of thumb is to add at least 2.5 inches (6.3 centimeters) of soil so the roots have enough space to thrive.
Step 2: Adding plants
This might be the most fun part of making a terrarium, adding the plants! Once the layering is complete, you can gently remove the plants from their planters. You might need to prune the plants a little bit so they fit more into the closed terrarium. Allow some space between the plants to avoid overcrowding. To create a layering illusion, place taller plants in the back of the center, with smaller plants in the front, or make them surround the taller plants.
Step 3: Garnish the closed terrarium
To light up the DIY terrarium process, you can add final touches to double the pleasing look by taking advantage of mini decoratives. From mini animal figures, small windmills and houses, and tiny driftwood, to small gnomes, select some that would make great companions for the plants.
Step 4: Sealing and Misting
Finally, mist the plants with water by using the spray bottle to ensure managing a humid environment for the plants. Mist the closed terrarium depending on the moisture level inside. Seal the closed terrarium by putting the lids on and voila! Your DIY closed terrarium is ready to beautify the indoor arena.
How To Create Open Terrariums
Here is a step-by-step guide on how to create open terrariums:
Materials:
- Glass container with an opening
- Pebbles or gravel
- Activated charcoal
- Potting soil
- Small plants
- Moss or other decorative elements
Instructions:
- Choose a glass container with an opening. It can be any shape or size, but make sure it has an opening to allow air circulation.
- Add a layer of pebbles or gravel at the bottom of the container. This layer will serve as drainage for excess water and prevent root rot.
- Add a layer of activated charcoal on top of the pebbles. The charcoal will help filter the air and prevent odors.
- Add a layer of potting soil on top of the charcoal. Make sure it is deep enough for your plants to root in.
- Choose small plants that will fit in your container and complement each other. You can use succulents, ferns, or other small plants that thrive in humid environments.
- Place your plants in the soil and arrange them how you like. Make sure to leave enough space for each plant to grow.
- Add decorative elements such as moss, stones, or figurines to enhance the terrarium’s visual appeal.
- Water the terrarium sparingly, only when the soil is dry. Avoid overwatering as it can cause root rot.
That’s it! Your open terrarium is ready. Display it in a bright spot with indirect sunlight and enjoy your miniature garden.
How Often Should You Need To Deep Clean Your Terrariums?
Deep cleaning is a major part of maintaining your terrarium, as it helps a lot to keep the plants healthy and keep that filthy look away. Open terrariums may require more frequent deep cleaning as they’re exposed to the open air. Depending on how dirty they get, you can do the deep clean for open terrariums once every two to six months.
Closed terrariums, in contrast, need less deep cleaning as they’re not exposed to the open air. You can deep clean the closed terrarium about once or twice a year, more if you see any fungal or bacterial growth.
Do Terrariums Need Ventilation and Drainage Holes?
No, both closed and open terrariums do not need drainage holes, so it’s predominant to add pebbles, activated charcoal, or sphagnum moss to help improve drainage. However, the answer to ventilation relies heavily on which type of terrarium you get. Open terrariums do not require ventilation as their design allows the air to flow freely. Although closed terrariums can recycle the air through photosynthesis, you can increase the ventilation by opening the lids about once every three to four weeks. Let the airflow for two to three hours.
Adding Fertilizers To Terrariums: Yay or Nay?
No, adding fertilizers to your terrariums can do more harm than good. Fertilizers increase the growth of the plants, therefore can lead to the plants overgrowing the terrarium. If you’re worried about nutrients, ensure to use the best soil mix that is rich in humus.
Are There Animals Well-Survive In Terrariums?
Yes, terrariums can be a whole new environment for micro animals like springtails! Although adding these tiny animals is not generally needed, springtails are well-known as the ‘tank cleaners’, as they’re eating away the unwanted molds and reproduce quite quickly.

New author in the hood. Loves gardening and flowers are my spirit animals (yes I know they are not animals but I insist). I will be covering most of the flowers’ topics here and occasionally random though as well.